|
Leosac
0.8.0
Open Source Access Control
|
|
Leosac
0.8.0
Open Source Access Control
|
Describe the additional installation process required with such hardware. You should have first followed Installation Guide (part 1): Raspbian.
We need a few modules to make thing works:
You can find the documentation of the module here. It focus on how to configure the module for any use case. We will instead explain why we need a given configuration.
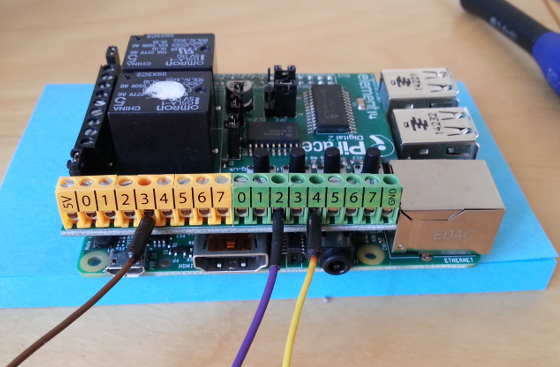
We are using a Wiegand card reader. Therefore we need 2 INPUTs GPIO. We also have 1 OUTPUT gpio for the door.
We add this to our config file:
As you can see, we are defining GPIO using the gpio port <no> we wired our reader and door.
Note that we use <level>2</level> to make sure this module is one of the first to start. We are assigning meaningful name to our GPIO. Keep them in mind because we will reuse them later.
This is the board with the PiFace plug onto it.
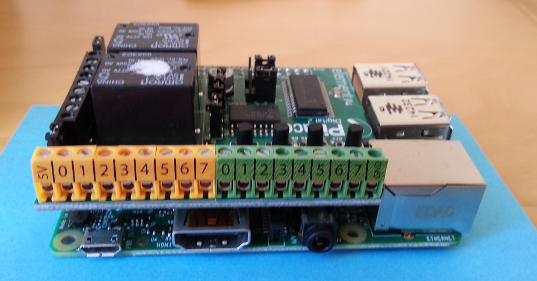
The orange port are output ports. Green ports are for inputs.
We have 3 wire to connect:
This is theoretically easy and should work. The whole configuration file can be found in cfg/example/guide_rpi_piface_wiegand/.
 1.8.17